Description
How does this work?_x000D_
The switch box kit consists of:_x000D_
– BNC Switch box_x000D_
– Three BNC cables_x000D_
– Two Light Head Hangers_x000D_
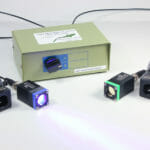
One BNC cable connects the SFA gooseneck lamp base to the input connector on the rear of the Switch Box. The other two cables connect the Switch Box outputs to the two light heads. Use the selector switch on the front of the Switch Box to select between the two light heads. The Light Head Hangers mount your light heads on the SFA adapter ring on the microscope._x000D_
_x000D_
_x000D_
_x000D_
 | _x000D_
_x000D_
_x000D_
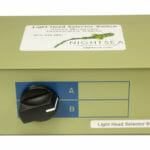
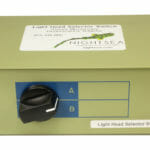
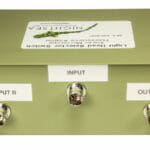
| SFA Switch Box front, showing selector switch | _x000D_
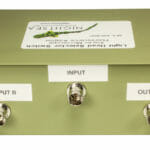
SFA Switch Box rear, showing input and output connectors | _x000D_
_x000D_
_x000D_
| _x000D_
| _x000D_
_x000D_
_x000D_
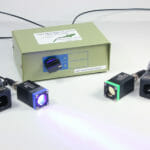
| SFA Switch Box Kit, position A, RB selected | _x000D_
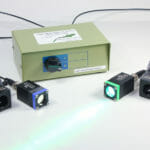
SFA Switch Box Kit, position B, GR selected | _x000D_
_x000D_
_x000D_
_x000D_
(Note – Light heads not included with kit. Any of the BNC light heads can be used with the kit.)_x000D_
The Light Head Hangers mount to the end of any of the thumbscrews on the SFA adapter ring. They are available in long and short pivot arm versions for use with long and short working distance microscopes._x000D_
– Long working distance (LWD) – 6.3 cm (2.5 in.) and greater_x000D_
– Short working distance (SWD) – 6.3 – 4.6 cm. (2.5 – 1.8 in.)_x000D_
Note that the Switch Box Kit is available only for SFA systems that use the BNC light head connector, and not the
older V1 connector._x000D_
_x000D_
What is the benefit?_x000D_
_x000D_
This accessory simplifies the process of switching between excitation wavelengths. You can have two different excitation sources mounted simultaneously and select between them with the flip of the selector switch. You will still need to manually change the barrier filter, but the overall switching process is speeded up and simplified.